Tips for preparing your project description
Here we have compiled general questions and a list of necessary data and materials for you. Further down you will find tips for good pictures. You can find answers to numerous detailed questions at our frequently asked questions!
Important questions in advance
- On which area are measures to be implemented, who has the rights of use and can these be guaranteed for the entire duration?
- What is to be achieved on the site? What specific measures are to be financed through AgoraNatura? Why is this area particularly suitable?
- Is support by nature conservation experts necessary? Who could/should you involve?
- What costs will be incurred and by when must funding be secured? - The maximum possible funding period is six months. We recommend that you plan the project in such way that you can make full use of this financing period.
- Who will be the provider and thus the contractual partner for the investors and is responsible for the implementation of the project?
- What form of contract is possible and suitable for your project idea? Donation, service contract or contract for work?
About communicating the ecosystem services
- Which ecosystem services of the blossom can you offer? Look at the different ecosystem services and consider which ones you can offer and what "fill level" can be achieved. To do this, it is also important to look at the reference scenario: How would the area be used without the project and would it develop?
- Take a look at the methods of recording/quantification suggested on our blossom page, are they suitable for your planned project? Gather all the important facts and figures before starting your project description.
- Use our project types and: contact us (info[a]agora-natura.de) if you are missing something and questions arise. An early exchange is often very helpful.
Necessary key data and pictures of the project
- the exact size of the area
- the coordinates to the midpoint of your project area (decimal degree system WGS 84)
- a picture showing the boundaries of your project area
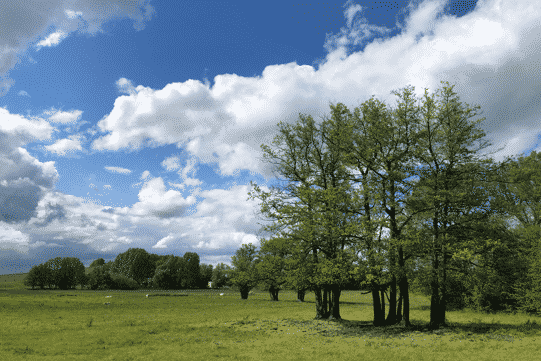
- an attractive cover picture
- a picture of the area showing the initial situation
- the start date and the duration in years
- may the exact location of your area be published?
- a logo or profile picture of you or your organisation would be very welcome and, if desired, a picture/logo of an important person/institution involved.
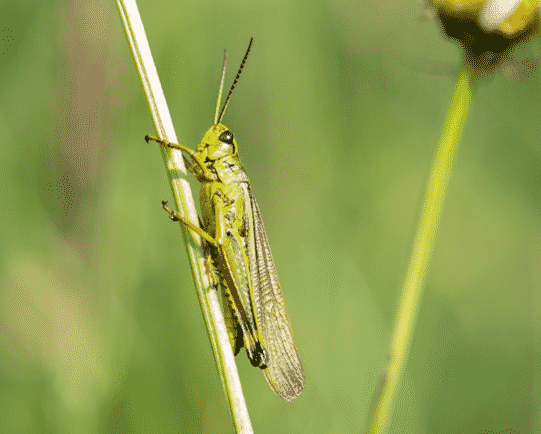
In addition, detailed pictures of the ecosystem services are nice, but not mandatory.
Please consider that all pictures will be published! Therefore, the resolution should be high and the area or person should be well presented. The image size should not exceed 1 MB. In addition, we ask you to always state the author and title of the picture.
Pictures with people are appealing. Please make sure that persons in the picture agree to the publication.
Tips for good pictures to promote your project

The rule of thirds: Think of two horizontal and two vertical lines, each dividing the picture into thirds. Place the main subject or important elements of the picture at the intersections of these lines or along them. If possible, place the horizon on the upper or lower third line. Try this as an alternative to a subject in the centre of the picture. If there is a tree in the background for example, try to place it diagonally to the main subject according to the rule-by-thirds, in order to actively integrate it into the composition of the picture.

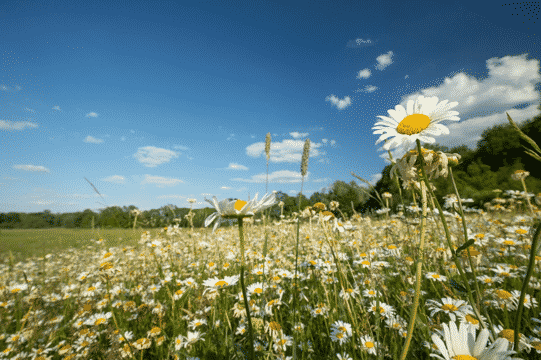
- Background & perspective: The background is just as important as the main subject. If there are disturbing elements, walk around the subject, try to change the perspective so that these elements are no longer in the picture. Leave your usual angle of view (camera at eye level) and see if the motif gets a special touch from an unusual perspective. Just try it out a little, get closer to the floor so that the subject and the horizon are in a good relationship to each other, or take a picture from the very bottom halfway up against the sky.

- Lines & light: Integrate lines and structures into the composition of the picture. For example, a path running diagonally through the picture, an edge of a field or a curved line will guide the viewer's eye across the picture and make the photo look more interesting. The light is crucial. Midday light with sun often creates harsh contrasts and dark drop shadows. In the morning and evening, on the other hand, the light is soft and warm, making the photo look much more appealing. The light works best when the sun is to your right or left.
The AgoraNatura website is optimised for photos in landscape format. Therefore, please take most of your photos in this format.
We have compiled an extra section on pictures for your project documentation during implementation. We will link to it here soon.
Back to our videos and materials: watch video 3 and 4 in particular to get started!